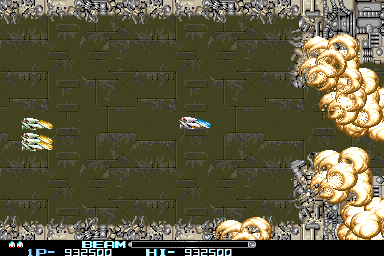
Here's my video in any case. A few notes on the run if you're interested:
- The sole reason why I pick up a second speed-up in the beginning of the second loop is the 2-5 boss. He was the biggest roadblock for the longest time. If he decides to go for his aggressive behaviour (which he does in this run, too) he is extremely dangerous. I practiced this guy over and over and still got killed 9 out of 10 times. I've read that it is possible to influence his course of action by positioning oneself in specific spots on the screen when he shows up, but couldn't get anything to work.
- I decide to stick with the DNA laser for 2-2 even though the stage is clearly designed for the other two weapons. Reason being that those evil jellyfishes are enormously resilient on the second loop, I've had it happen that three or four survive for so long that they will pester you during the boss fight. I'd rather flail around the stage than having to deal with all that.
- 2-3 went unusually well. If you throw out the pod too early against the thruster it probably will get stuck in a bad spot which renders this stage exponentially harder.
- 2-4 is the hardest stage in the game for me alongside 2-7. So many enemies with fast bullets! It got very close multiple times, particularly at 28:08. Glad that it worked out.
- I almost messed up 2-6 by missing the upmost crawler at 31:40. I had to make that stunt there, you don't want him to shoot you while being restricted to that cramped space. This is most likely one of the hardest stages the first time you get here, but memorization works wonders.
- 2-7 was scary as always! I panicked a lot during this stage, just can't keep the nerves under control. It's not that hard if you're methodical about it but if you miss one or two enemies at crucial points you're going to regret it.
- Believe it or not, I was terrified while facing the final boss! I've had it happen during practice that I died in that safespot, I still have no idea why that is. Maybe the position is rather strict, it seems to have worked splendidly this time, however, allowing me to crush the Bydo empire!
Super R-Type is a lot more painful, that's for sure. One loop of R-Type feels like 10 minutes while one loop of Super R-Type feels like it's an hour long. I have to admit though that I can't quite recover in the original R-Type as well. I just have no clue how to survive the final boss without both of the bits. Since you only get the bits in three stages (1, 4 and 7) my credit is over when I die after stage 4. I know how to recover from most checkpoints, I just can't beat the final boss without exploiting the safespot.BIL wrote:Holy shit, nice work Perikles!
How would you say the arcade game compares to Super R-Type and its godawful checkpoints? More/less punishing, maybe about the same?
The important thing, however, is that almost every death in Super R-Type feels cheap. You either get hit by something that clearly did not hit you (those laser beams from the seventh boss for example linger around long after they left the screen, it would be funny if it weren't so sad), because the slowdown abruptly ended while you were not prepared for it or because of some other ridiculous trouvaille (I love those little enemies in stage 7 that have the chutzpah to shoot directly through their platforms). R-Type is certainly a lot harder, but every death is self-inflicted.
I will say that everything from 2-4 onwards in R-Type III is pretty much worthy of a true Irem loop, especially 2-6; while at the same time being more accessible as far as checkpoint recovery is concerned. Truly magnificent design!


