Sega Astro City Control Panel restoration

The place for all discussion on gaming hardware
Post Reply
User avatar
cham0mile
Posts: 65
Joined: Fri Apr 11, 2014 7:12 am

Sega Astro City Control Panel restoration

Post by cham0mile »

Hey guys. So I'm trying to restore a Sega Astro City Control Panel to wire it up for 2P console/PC use.

I already have an Astro repo metal panel I got from Jasen's Customs and a new coin sticker.
I also have some paint and sand paper to retouch everything.

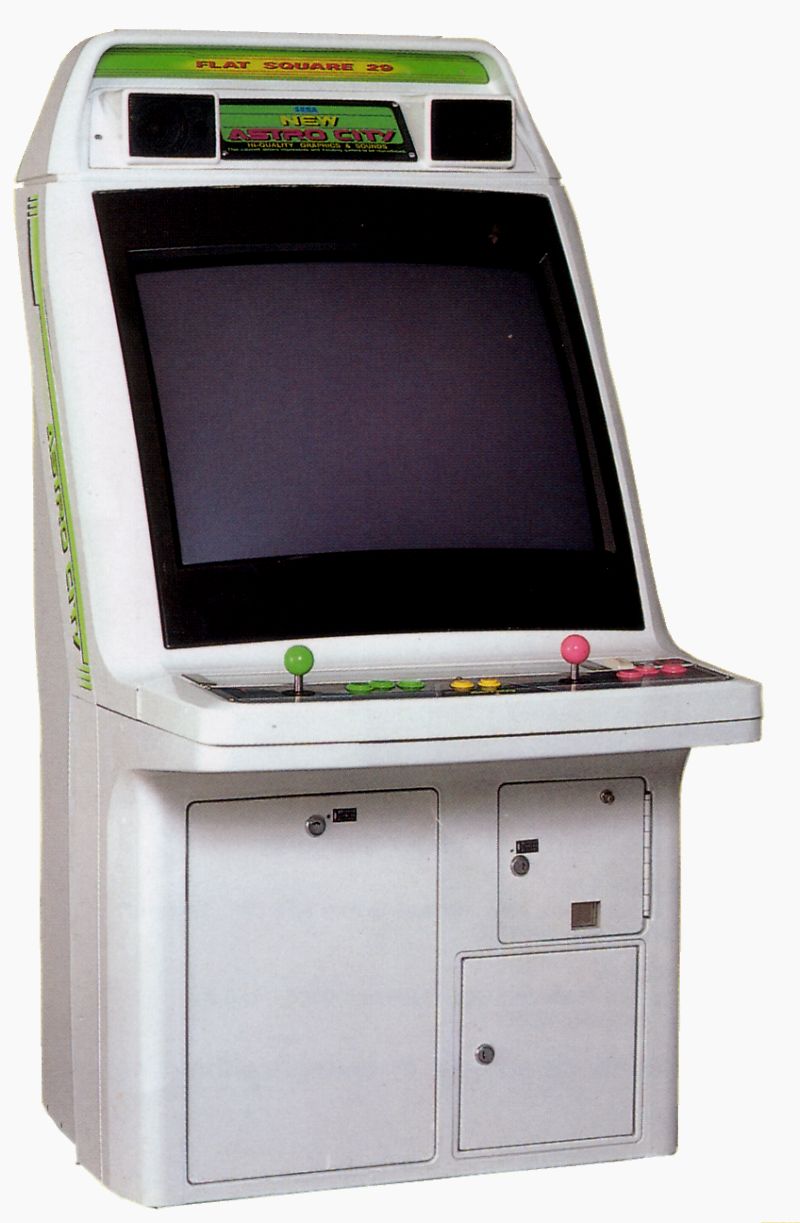
I threw in some Seimitsu buttons and would like to use a Sanwa and Seimitsu stick.

So my questions would be:

What kind of screws and nuts should I look for or invest in to hold down the panel and general housing?

Should I use a wood base for the bottom or get something cut out at TAP's plastics?
Or should I just look for an original control panel base?

Any other general advice would be very helpful, thanks.

And of course the panel:

Image
User avatar
chempop
Posts: 3466
Joined: Sun Jul 31, 2005 7:44 am
Location: Western-MA USA

Re: Sega Astro City Control Panel restoration

Post by chempop »

The problem is that the base of the control panel is actually the same piece as the whole front-bottom of the cab:
Image

You might need to do something make-shift if you want to attach a bottom. Another option is to find a Blast City control panel enclosure like this (they are removable form the cabinet):
Image

For holding the panel to the enclosure, these are what you need:
http://www.giz10p.co.uk/index.php?_a=vi ... ductId=176
and:
http://www.giz10p.co.uk/index.php?_a=vi ... ductId=213
"I've had quite a few pcbs of Fire Shark over time, and none of them cost me over £30 - so it won't break the bank by any standards." ~Malc
User avatar
cham0mile
Posts: 65
Joined: Fri Apr 11, 2014 7:12 am

Re: Sega Astro City Control Panel restoration

Post by cham0mile »

Ah, thanks for the info chempop.
Post Reply