Consolized MVS project FINISHED!!

The place for all discussion on gaming hardware
User avatar
Strider77
Posts: 4732
Joined: Thu Jul 27, 2006 7:01 am

Consolized MVS project FINISHED!!

Post by Strider77 »

I've decided to consolize my MVS for fun and convenience. I was going to go with a small aluminum case but then decided, why not put it in a AES shell. I actually found one on neo-geo.com

I have not finished but have started. The hard work is done, getting the board to fit and getting the slot wide enough for the MVS cart. Fortunatelt I was able to do this to the slot without making it look homemade ect.

I am going to have a unibios installed (stereo mod as well) for the ability for booting up carts in AES mode mostly.

I thought I'd track my progress in a thread here:

Image
Image
Image
Image
Image
Image
Last edited by Strider77 on Fri Oct 17, 2008 8:36 am, edited 1 time in total.
PC Engine Fan X!
Posts: 9100
Joined: Wed Jan 26, 2005 10:32 pm

Post by PC Engine Fan X! »

For Strider,

That's a cool consolized MVS project you've got there going. ^_~

What type of MVS mobo are you using btw?

Are you going to add a JROK RGB transcoder so that it can output to any flavor you wish (i.e. analog RGB, composite video, S-Video & component video outputs)?

And what is that green-colored MVS cart anyways?

PC Engine Fan X! ^_~
User avatar
Lordstar
Posts: 3785
Joined: Thu Apr 26, 2007 4:53 pm
Location: Liverpool,UK
Contact:

Post by Lordstar »

thats garou mark of wolves right?
Follow me on twitter for tees and my ramblings @karoshidrop
shmups members can purchase here http://shmups.system11.org/viewtopic.php?f=4&t=21158
User avatar
Strider77
Posts: 4732
Joined: Thu Jul 27, 2006 7:01 am

Post by Strider77 »

MVS = Garou MOTW and it's a MV1C mobo, the last model they made
Last edited by Strider77 on Mon Sep 15, 2008 6:19 am, edited 2 times in total.
User avatar
Strider77
Posts: 4732
Joined: Thu Jul 27, 2006 7:01 am

Post by Strider77 »

All he has right now are wired female ends with 6' of cable
I could use 3 of those for my sticks, I have a cable now but it's to thick really.

Image
Image
Image

I'd like a nicer cord for it. This stick works with:

PS1
PS2
PS3
Saturn
Dreamcast
Supergun
NeoGeo
Genesis
SNES
3DO

I'll be making a second one also.... they'll be my main sticks for the neogeo, well they will be for everything else I have to for that matter. i have some saturn pads wired up for neo-geo/supergun use also.
Last edited by Strider77 on Tue Sep 23, 2008 6:00 am, edited 2 times in total.
User avatar
Strider77
Posts: 4732
Joined: Thu Jul 27, 2006 7:01 am

Post by Strider77 »

OK, so I might be able to get some original AES parts, maybe not. I'm moving forward as if I can't to be sure this project gets done.

reset switch:

Image
Image
Image
Image

controller ports:

Image
Image
Image
Image
Image

those silver controller connectors' outside shell will be painted black to they won't be noticeable near the end. the whole case is getting a coat of vinyl die at the end also to make everything look fresh and new also.... it gets rid of any surface scratches.
User avatar
Strider77
Posts: 4732
Joined: Thu Jul 27, 2006 7:01 am

Post by Strider77 »

BTW.... does anyone know of a glue or epoxy that works great for metal to plastic bonding? also another for plastic to plastic.
User avatar
D
Posts: 3801
Joined: Tue Feb 01, 2005 3:49 pm
Location: Almere, Netherlands
Contact:

Post by D »

Great idea! :P
Good luck!
User avatar
Strider77
Posts: 4732
Joined: Thu Jul 27, 2006 7:01 am

Post by Strider77 »

OK, restored the shell. No more scratches or scuffs ect. This came out PERFECT, was amazed at how clean it looks now. You can't even notice that I cut the cart slot. Used some bondo on the cart slot also then sanded it. This vinyl die works wonders. I used the same stuff when making my stick.

I was happy I could save some of the logos also, the other wording on the system was to scuffed up to save. the dust doors stand out for some reason in the pic but don't in person.

Image
User avatar
gennss
Posts: 173
Joined: Mon Aug 04, 2008 4:20 pm

Post by gennss »

that's beautiful... i so want one.
User avatar
kernow
Posts: 1225
Joined: Mon May 26, 2008 8:26 pm
Location: Plymouth, Devon, UK

Post by kernow »

amazing work
User avatar
undamned
Posts: 3273
Joined: Sat Jan 29, 2005 9:27 am
Location: Phoenix

Post by undamned »

Neat!
-ud
Righteous Super Hero / Righteous Love
User avatar
Strider77
Posts: 4732
Joined: Thu Jul 27, 2006 7:01 am

Post by Strider77 »

It's still a work in progress though. I have to figure out mounting a power switch, power jack, and AV port. Then all the wiring to them will have to be done. A universal bios is also going on the PCB so I can boot them up in AES mode.
User avatar
undamned
Posts: 3273
Joined: Sat Jan 29, 2005 9:27 am
Location: Phoenix

Post by undamned »

I have to give you mad props for doing some cool mechanical moding. Too many people are satisfied w/ "Hey guys I putz teh blu leds in mai systems!11"

Have you decided upon a power supply? I think it'd be nice to find one of those longer AC adapters, like you'd find for laptop chargers, and stick that inside so you've got it all in one box :D That's one thing I love about my SS, PS2, XBOX, and DC, is that they all use the same power cord because they have internal power supplies.

I've got some purely mechanical mods (well I guess there's some passive electrical work as far as lengthening existing wires) for the DC, NES, and PC Engine coming soon, Lord willing!
-ud
Righteous Super Hero / Righteous Love
User avatar
Strider77
Posts: 4732
Joined: Thu Jul 27, 2006 7:01 am

Post by Strider77 »

I was going to use a regular power supply. like this one for now.

https://www.jameco.com/webapp/wcs/store ... tId=319881

I might add a internal one later on down the road.
User avatar
undamned
Posts: 3273
Joined: Sat Jan 29, 2005 9:27 am
Location: Phoenix

Post by undamned »

Dude, there's mad room in there for that! You just need to pop that baby in there, wire in power to the PCB, wire out the AC power lines to a standard AC male power plug like on your SS and you'll be rockin'. :D

Just be sure and pick up some foil tape to wrap around the power supply (or at least throw in a vertical metal shield between it and your PCB) so you aren't disturbing the rest of your electronics w/ the magnetic fields from the power supply.
-ud
Righteous Super Hero / Righteous Love
User avatar
Strider77
Posts: 4732
Joined: Thu Jul 27, 2006 7:01 am

Post by Strider77 »

Getting closer and closer.... got the power switch installed and anchored. The only things I have left really are the power and AV jack on the back and that will be easy.

I'm gonna have to have the universal bios installed then I can finish up with the wiring. I have a small bit of work to finish on the controller ports but that has to wait till I'm mounting the board in. Also a small power LED. Then it's done and ready to play!!

Image
Image
Image

I am still gonna clean up the front a bit. A power LED is going into the headphone jack; a headphone jack would be a useless addition to me other than to keep neo alec from crying over it being not like a real AES (someone on neo-geo.com). I could wire a headphone jack and volume knob if I wanted but I will never use it. plus i think this will look cooler. I'll remove the headphone and volume lettering also when I do this.

I still have to finish up the memory card slot also.

The controller ports are getting painted black and are sunk into the sell, in other words they are lined up with the front plastic and don't extend past it.... it's flush with the system case. Everything I'm doing with the controller ports is reversible just in case i ever get my hands on official ports.
User avatar
Strider77
Posts: 4732
Joined: Thu Jul 27, 2006 7:01 am

Post by Strider77 »

OK, got the controller ports finished up and the PCB is mounted, well until I send it off for the unibios.

I added a few pics for the power switch again and a short vid.

Image
Image
Image
Image
Image

Click pic below for vid...

Image
User avatar
Strider77
Posts: 4732
Joined: Thu Jul 27, 2006 7:01 am

Post by Strider77 »

controller ports sealed with bondo and then painted over.....

Image

getting pretty close to being done with the hard work. all that's left is to mount a power and AV jack in the back.

after that I just have to send off the board for the universal bios to be installed. once I get it back I just have to do the wiring then it'll be ready to go.
User avatar
spadgy
Posts: 6675
Joined: Tue Nov 06, 2007 5:26 pm
Location: Casino Arcade (RIP), UK.

Post by spadgy »

I'm really enjoying watching your progress here Strider77 - great project, and thanks for all the efforts with this thread...
User avatar
Strider77
Posts: 4732
Joined: Thu Jul 27, 2006 7:01 am

Post by Strider77 »

OK, I got my AV port and power port to install on the Neo casing... very easy to do. I found some panel mount ones that snap and screw into the holes in the casing. no cutting plastic ect needed... just drop em in and screw/snap em into place.

The mobo is sent off now, when i get it back it'll have a universal bios in it. After that, nothing to do but wire it up!!

Thanks Spadgy.... I was hesitant to show my progress and make a thread documenting it b/c if I screwed up I'd have to eat my words. But I though it might motivate me since others would be watching ect.

It's worked, has kinda lit a fire under me.
User avatar
Strider77
Posts: 4732
Joined: Thu Jul 27, 2006 7:01 am

Post by Strider77 »

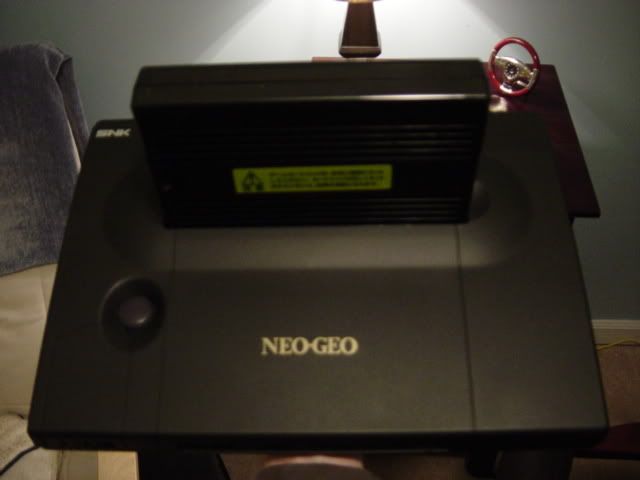
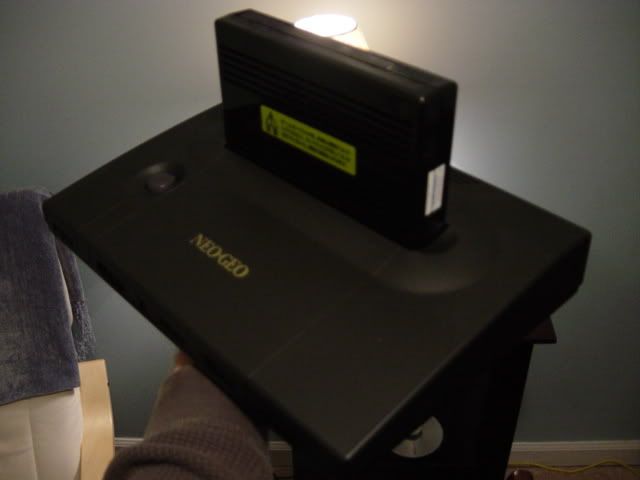
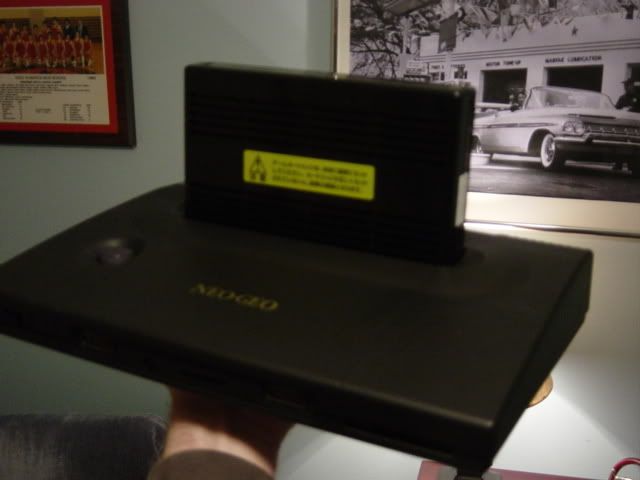
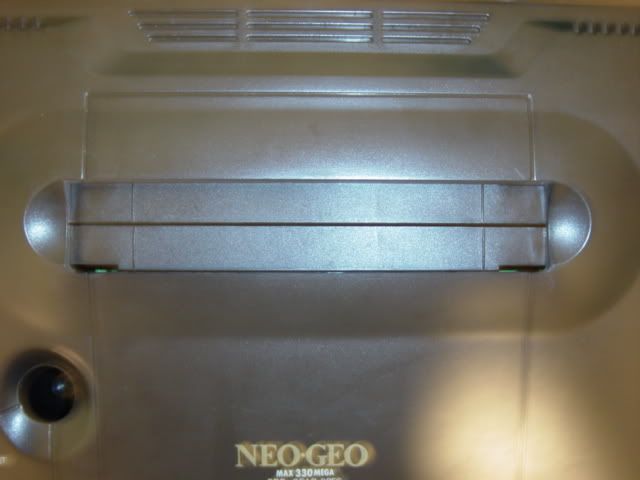
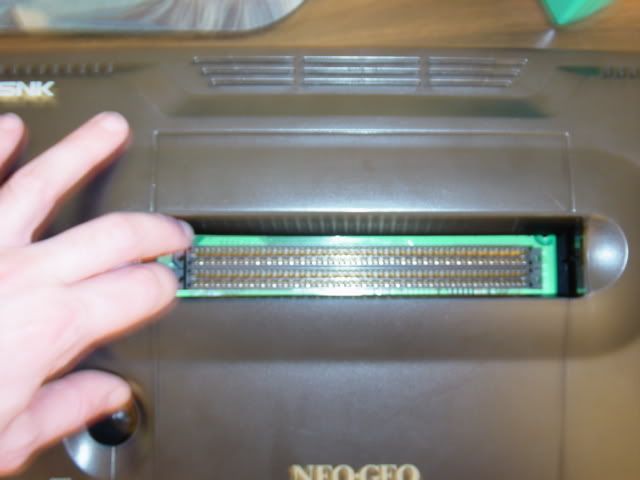
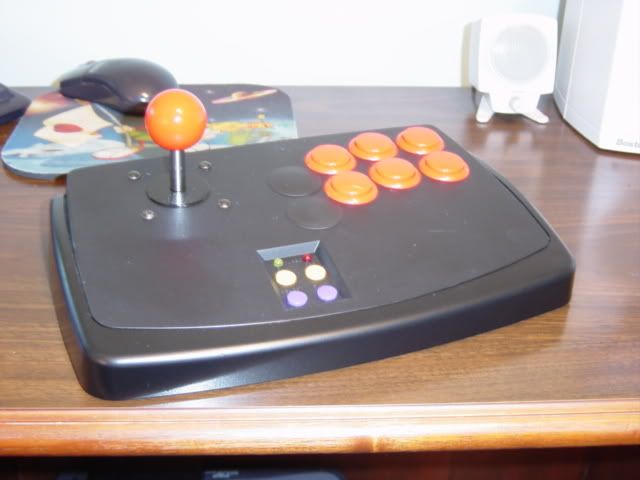
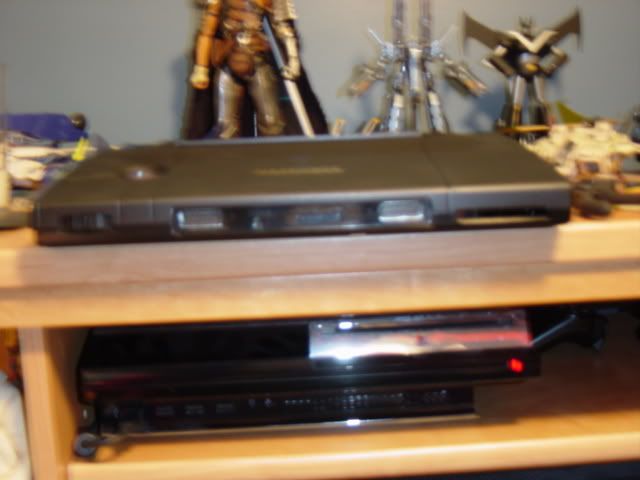
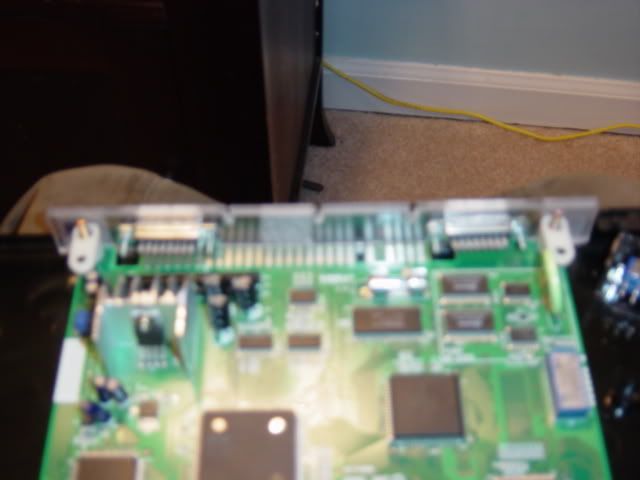
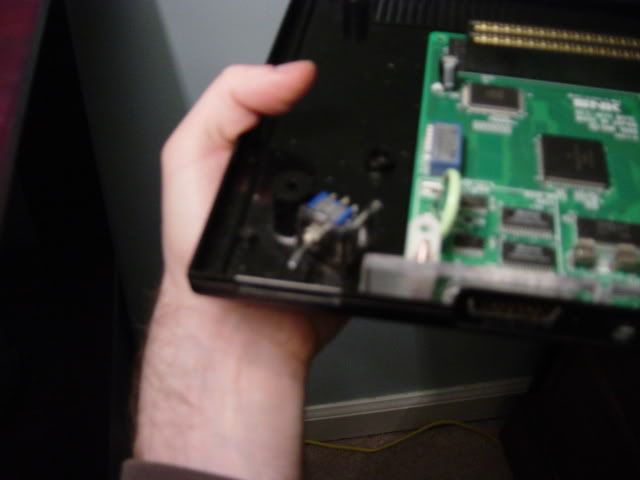
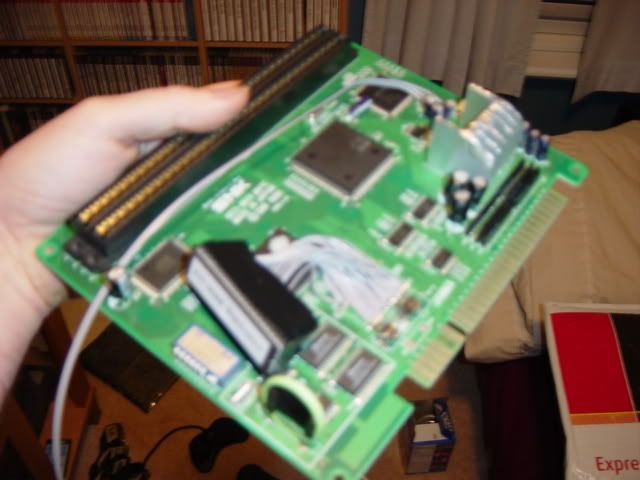
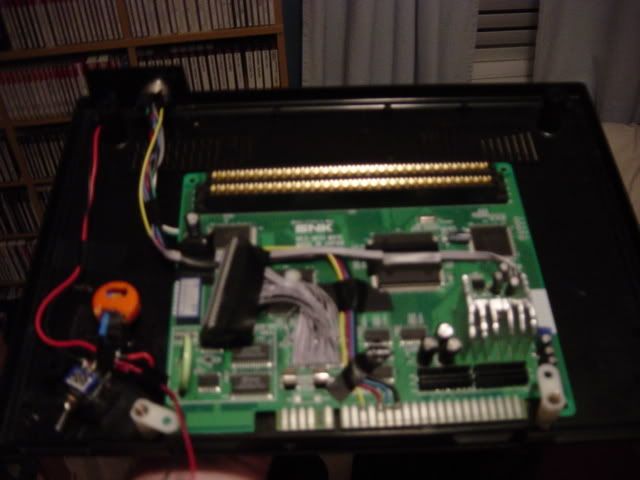
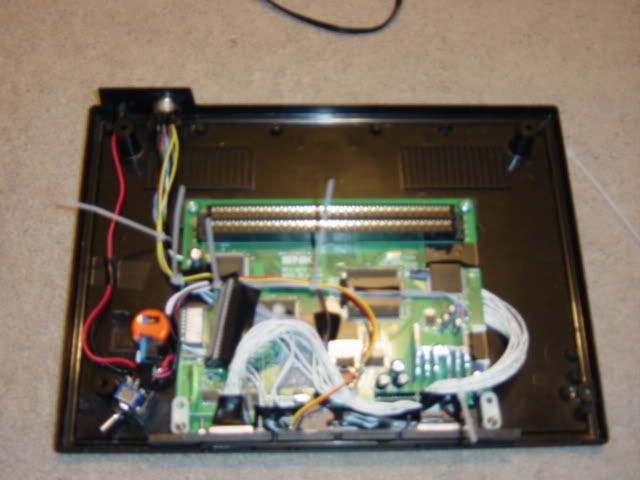
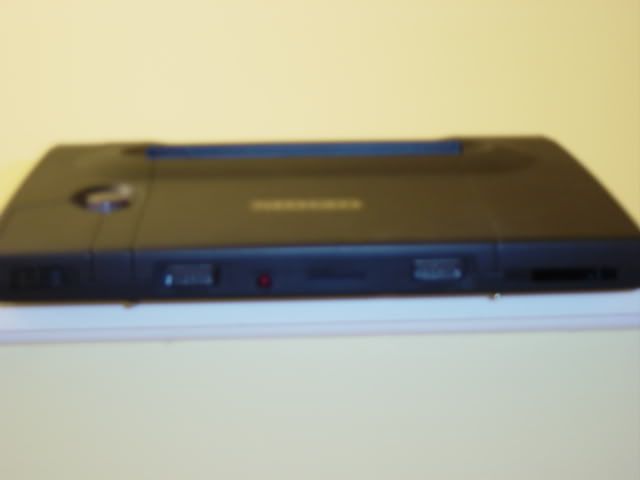
it's pretty much done except for the wiring. I still need to order a power supply also.

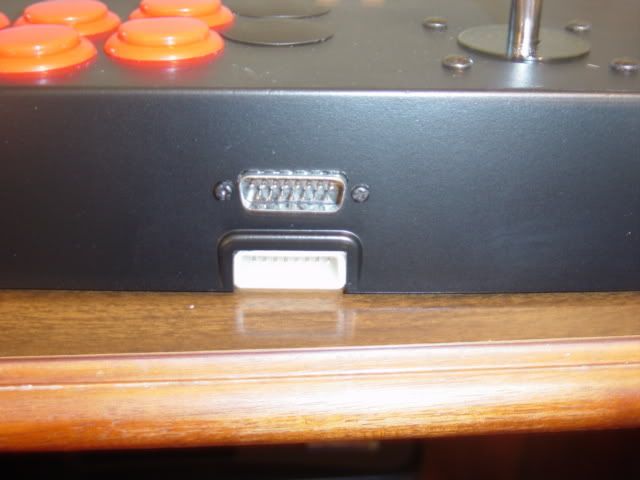
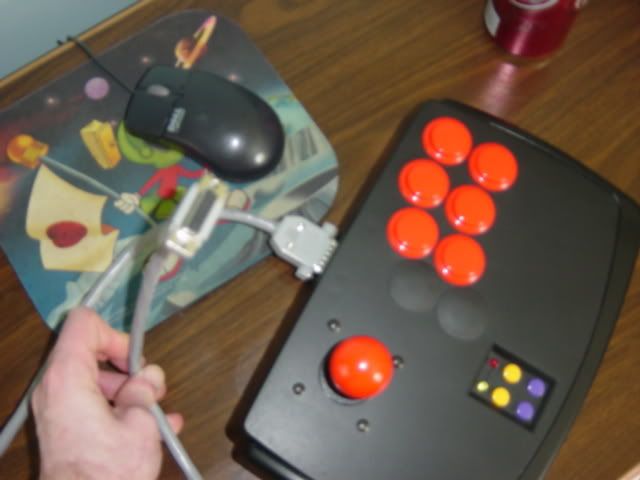
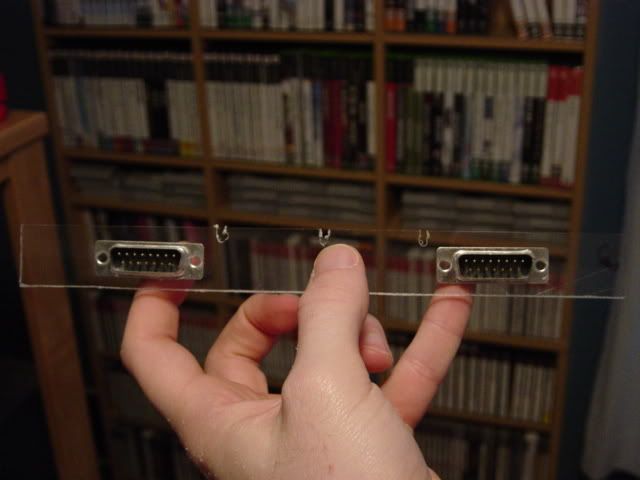
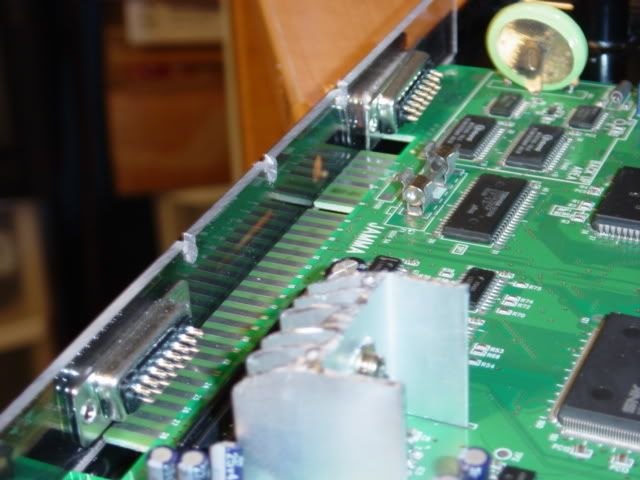
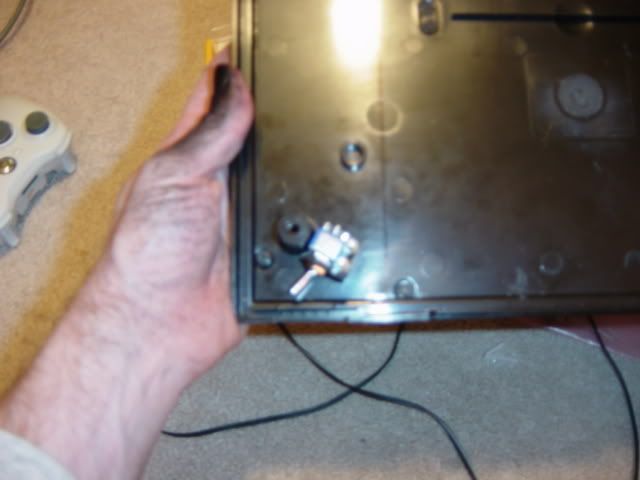
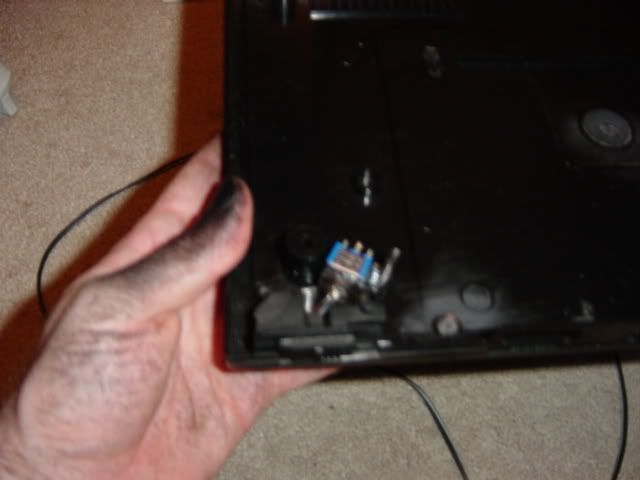
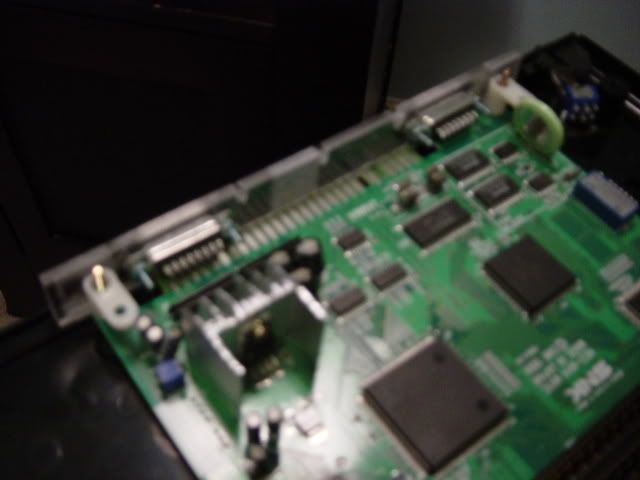
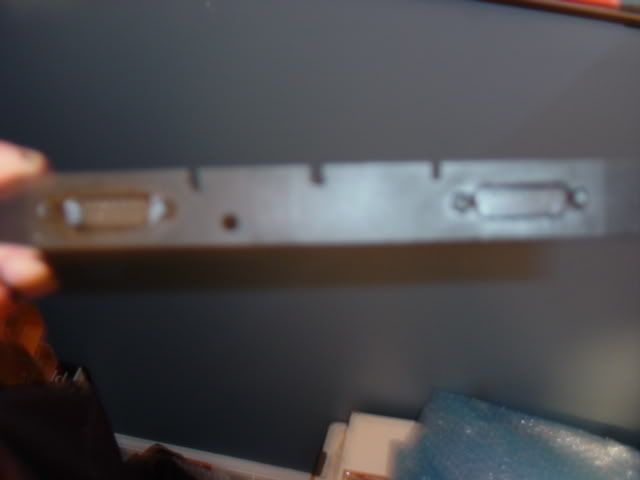
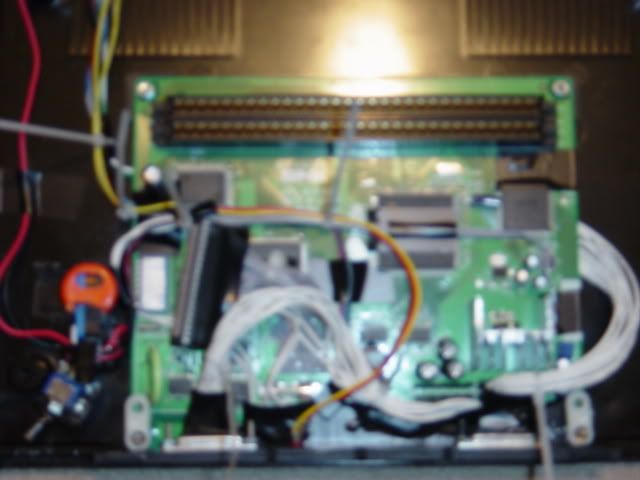
here are the power and av plugs I used. the power plug is a snap in that is the perfect size, not cutting ect needed for fitting. the Din 8 is a screw in with a nut that fits behind, again a perfect fit.

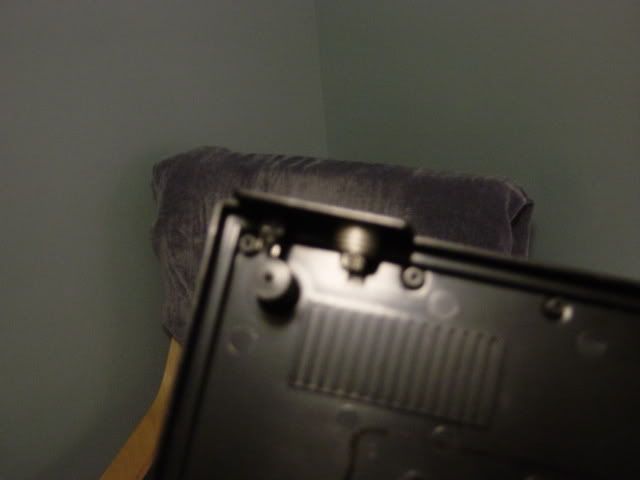
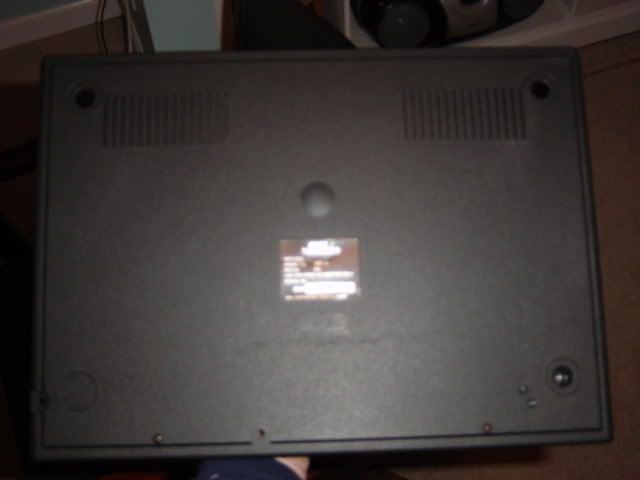
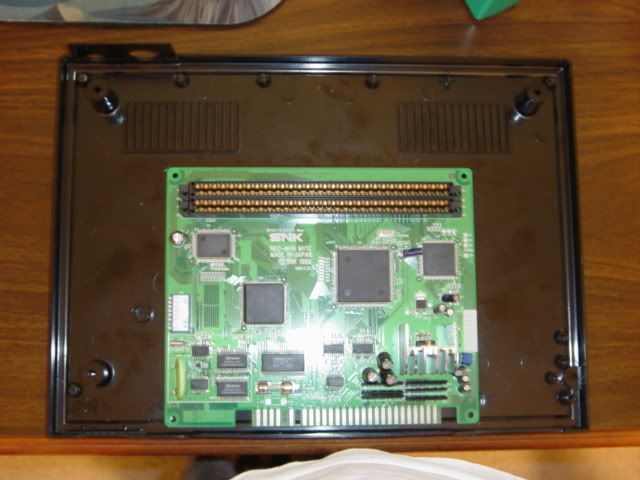
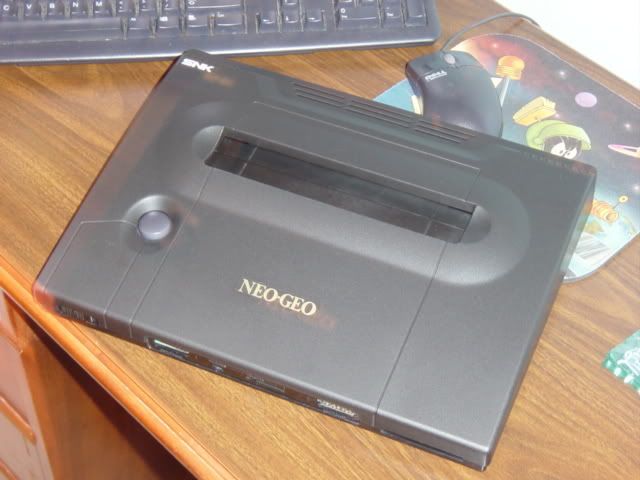
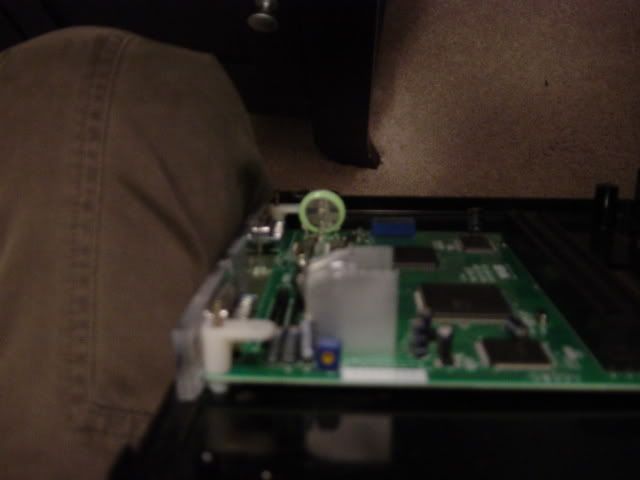
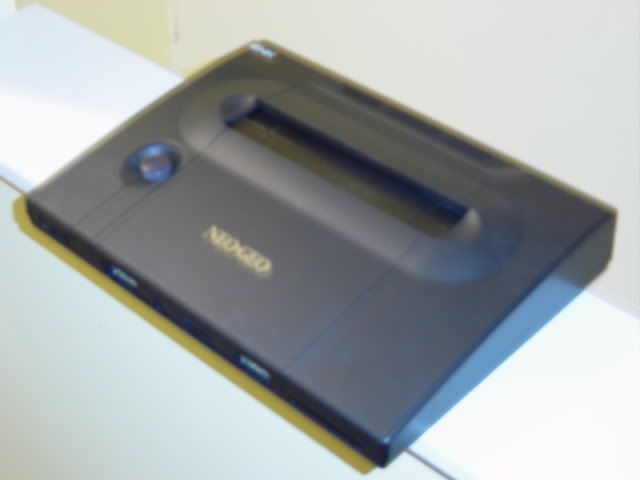
I also used the vinyl die on the bottom to clean it up and saved the SNK label for the bottom also,
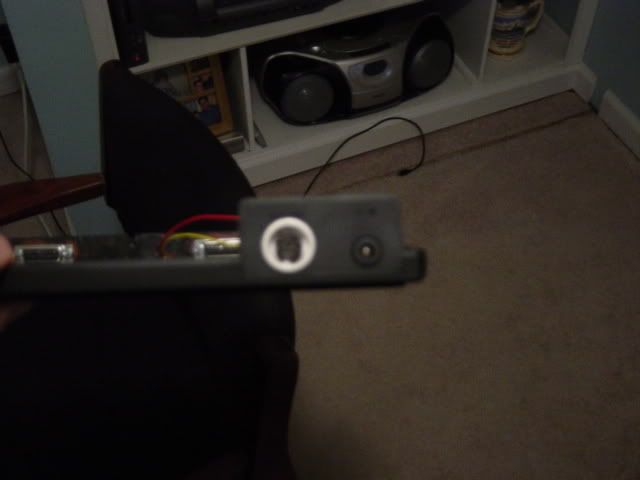
Image
Image
Image

For the Din 8:

pins 1 - 4 = Red, Green, Blue, Sync
pins 5 - 6 = Left and Right Audio
pins 7 = Composite
pin 8 = Sync on Green
casing = ground

with this I can let RGB AND component share the red and blue lines then use the sync on green to enable component output also without have to add a ton of AV ports on the back.

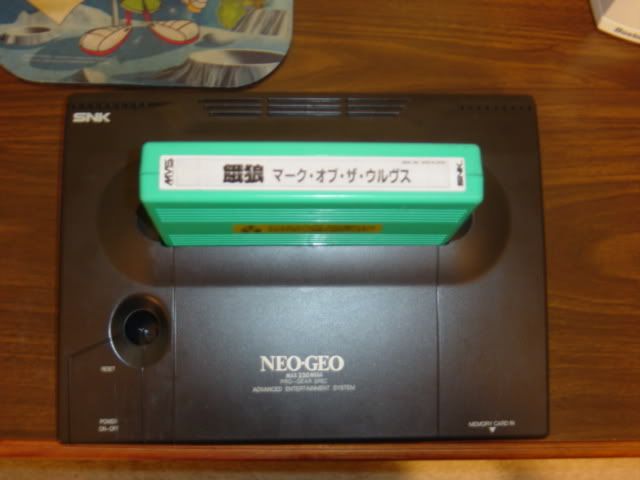
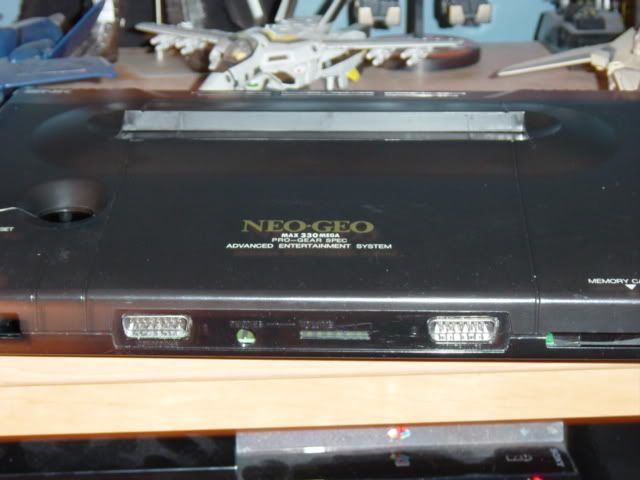
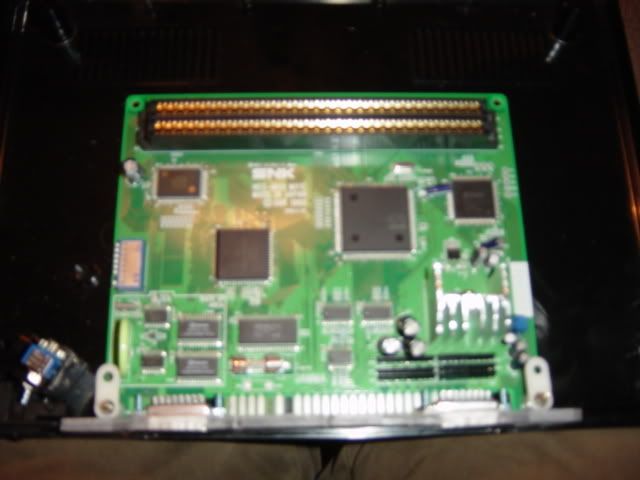
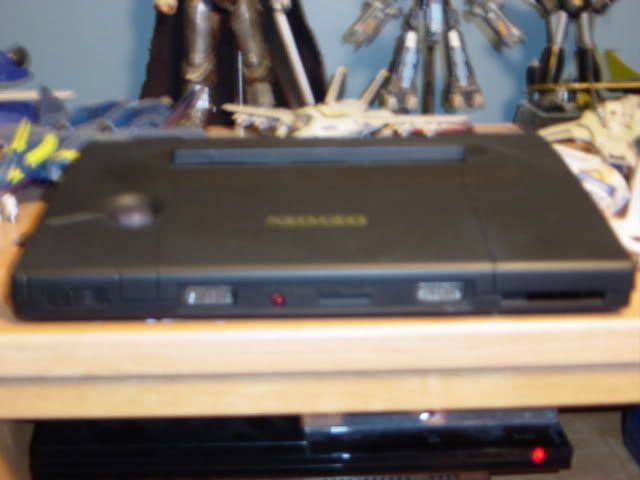
At 1st this is gonna be a straight up RGB machine until I bother to buy a Jrock or something. My set up is completely dependent on RGB for low res stuff.
Damn Tim, you know there are quite a few Americans out there who still lives in tents due to this shitty economy, and you're dropping loads on a single game which only last 20 min. Do you think it's fair? How much did you spend this time?
User avatar
Strider77
Posts: 4732
Joined: Thu Jul 27, 2006 7:01 am

Post by Strider77 »

ok, so I have a unibios installed now.... so this week I can get back to work.

Image
Damn Tim, you know there are quite a few Americans out there who still lives in tents due to this shitty economy, and you're dropping loads on a single game which only last 20 min. Do you think it's fair? How much did you spend this time?
User avatar
Strider77
Posts: 4732
Joined: Thu Jul 27, 2006 7:01 am

Post by Strider77 »

OK, so I mounted the reset switch. I also wired up all the power wires tonight and tested them with a led. Everything works proper and that's the last of the mounting and cutting stuff for the inside of the case thank god. Well except for the screwing in of the PCB.
Damn Tim, you know there are quite a few Americans out there who still lives in tents due to this shitty economy, and you're dropping loads on a single game which only last 20 min. Do you think it's fair? How much did you spend this time?
User avatar
Strider77
Posts: 4732
Joined: Thu Jul 27, 2006 7:01 am

Post by Strider77 »

So close.....

Image

All I really have left is to solder on the controller ports to the board, then the power. Screw the board onto the shell and screw it all shut.

One of the screw bezels is busted but I can fix that.... it's close to being done. I wired up the AV port tonight and it works fine. It's only RGB right now but that's what I use. It's in stereo also.
Damn Tim, you know there are quite a few Americans out there who still lives in tents due to this shitty economy, and you're dropping loads on a single game which only last 20 min. Do you think it's fair? How much did you spend this time?
User avatar
Strider77
Posts: 4732
Joined: Thu Jul 27, 2006 7:01 am

Post by Strider77 »

OK... so all I have left is to wire the controller ports and power jack to the mobo and it's done!! I have the controller jacks wired up... I just have to attach the wires from them to the mobo.
Damn Tim, you know there are quite a few Americans out there who still lives in tents due to this shitty economy, and you're dropping loads on a single game which only last 20 min. Do you think it's fair? How much did you spend this time?
User avatar
Strider77
Posts: 4732
Joined: Thu Jul 27, 2006 7:01 am

Post by Strider77 »

DONE!!!! happy it's over with.

when I took these pics I hadn't put the black plastic inside the memory card holder.... it's an open slot in the pics but isn't now.

Image
Image
Image
Image
Image
Damn Tim, you know there are quite a few Americans out there who still lives in tents due to this shitty economy, and you're dropping loads on a single game which only last 20 min. Do you think it's fair? How much did you spend this time?
User avatar
emphatic
Posts: 7984
Joined: Mon Aug 18, 2008 3:47 pm
Location: Alingsås, Sweden
Contact:

Post by emphatic »

Awesome. No pics with an MVS cart inserted?

Emph
Image | My games - http://www.emphatic.se
RegalSin wrote:Street Fighters. We need to aviod them when we activate time accellerator.
User avatar
ckong
Posts: 257
Joined: Tue Sep 09, 2008 8:17 am
Location: The Netherlands

Post by ckong »

That looks very nice, although I really should clean the screen of my monitor, a job long overdue, but I hate it to see blurry pictures any longer.
User avatar
Strider77
Posts: 4732
Joined: Thu Jul 27, 2006 7:01 am

Post by Strider77 »

new pics with the cart inserted....

Image
Image
Image
Damn Tim, you know there are quite a few Americans out there who still lives in tents due to this shitty economy, and you're dropping loads on a single game which only last 20 min. Do you think it's fair? How much did you spend this time?
Post Reply