Thanks, Squire Grooktook!

PC Engine Fan X! wrote:Some of those cool retro Lego Idea Building books from the late 1970s to the early to late 1980s dealing with Legoland and Technic themes sure fetch a pretty penny nowadays (including Legoland #6000 Idea Book with a slick set of speciality mini lego figurine stickers insert not found anywhere else circa 1980 & Lego Idea Book #226 circa 1982). Still have them in my Lego collection.
I visited my mom's place last month and had a chance to dig through a bunch of my old stuff (G1 Transformers, Legos, a lot of good stuff in there!) and found one of those old idea books. It's funny how much I'd forgotten about what I did and didn't have. Some of the Lego stuff I didn't even recognize (Blacktron II, where they get all stupid with Trans-Neon Green, Red, and White? How is that even Blacktron?). The main thing I was interested in was my old space figures. I thought I had maybe 5-10, but when I got digging I found over 20!

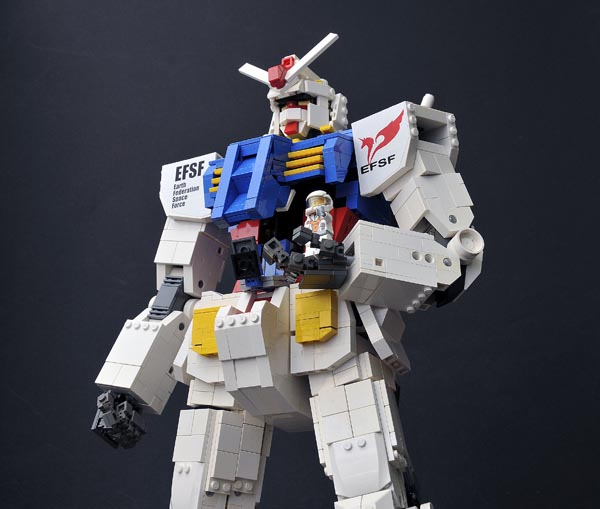
PC Engine Fan X! wrote:I've used those water applied decals from old-school plastic mecha model kits (from the animes of Genesis Climber Mospeada and Special Armored Battalion Dorvack) -- they do apply well to lego parts (and for some added realism, they have that old/aged & cracked appearance) -- sure does look much better with using dedicated plastic mecha model based decals than going the custom sticker route imho + they adhere to the plastic much easier (& no overall shiny/glossy coat to mar the appearance either). The decals that I applied to my lego mecha suit was done back in 1986-1987, so it does have that cool aged decal overall look/feel/vibe going on. I know this is quite different from using the modern-day stickers that lego provides nowadays with it's current sets that use them.
One trick I've learned over the years when applying lego stickers, is to use a toothpick and apply the sticker to the end of it and sorta figure out in advance how the sticker will be placed on the desired lego piece (you only get one shot to apply it right the first time -- no second redo's whatsoever). It's doable in this day of age but takes a lot of patience and time to do it right the 1st time (especially when affixing one of the larger stickers on a Technic piece and the like).
Thanks for the tips! One thing I'd completely overlooked was just doing some old fashioned sticker-bashing. Just buy sticker sheets from other official Lego kits (from Bricklink or wherever) and get creative. I found some wonderful Classic Space logo stickers on the sheet from the recent "Benny's Spaceship!" set. They are opaque so they can be applied to any color brick without funky color bleedthrough.
PC Engine Fan X! wrote:And by using the old-school lego light bricks (sized 2x2x1) from the early 1980s (powered by an external lego battery box using 3 'C' type batteries), they do add a cool vibe when iilluminating red transparent lego pieces for added realism (this was before the advent of using modern-day flexible electro-luminescent wiring to do the internal lighting deed or even using fiber optic lighting for that matter, nowadays). It'd be a matter of using a set number of lego pieces to hide such wiring as not to mar the final/overall appearance of said lego model/diorama -- a little bit of ingenuity and improvisation goes a long ways when working with lego parts to get the job done.
I had a "Light & Sound" space set as a kid
Cool blinky lights and sound effects was pretty exciting. I'd like to do some of my own modern lighting experimenting at some point.
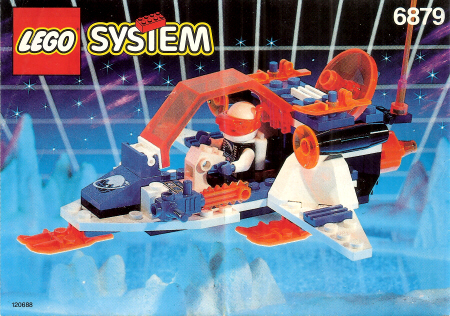
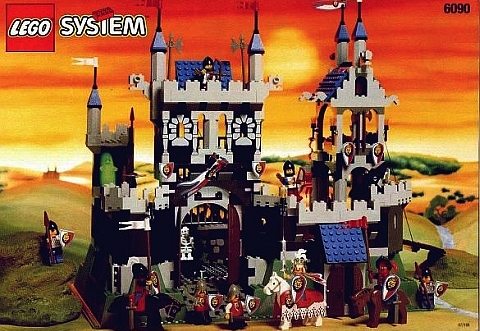
PC Engine Fan X! wrote:Back in 1982, I did enter a lego building contest with just myself and another boy. I had built a red colored spaceship armed to the teeth with retractable wings/shields/landing gear and even a cool laser gun turret that spun 360 degrees in either direction. The other boy had built a castle but there wasn't any rhyme or reason to using a dedicated color-coordinated scheme (like as it was with my custom built spaceship fighter craft using red roof bricks and occasional gray colored pieces as shields) -- it was all crazy colors like that of an artist's mixed up easel if you will. We were told to come back in about 30 minutes and the judges would determine the winner. Came back 30 minutes later and found out that I won 2nd place and could choose up to $15 worth of legos (whilst the other kid got to spend a whopping $25 in credit towards any lego set his heart desired). I thought it was supposed to be judging on overall visual appearance, originality and careful use of said lego parts (but in reality, all those key issues/points "went out the window" during judging...I was stunned that I got 2nd place -- still better than 3rd place, right?). Of course, using lego parts from the late 1970s and early 1980s wasn't as specialized as they are nowadays, that's a given alrighty. You basically had to make do with what lego parts you had and improvise to get the custom model done -- more of a limiting factor (or say, a challenge) if that's all you had to work with back in those days.
Haha, I know that sense of loss. "HOW COULD THIS HAPPEN?"

$15 worth of legos back then actually went a little further than it would today.
. . .
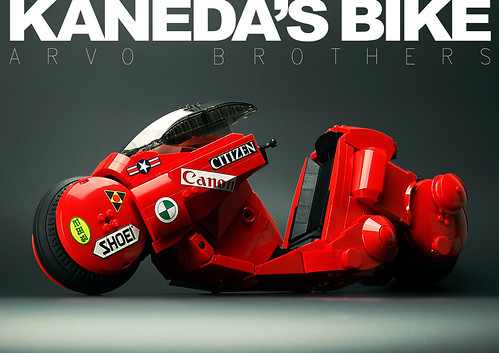
In other news, I just got blogged!
http://thelegocarblog.com/2015/12/17/space-hog/ Yay!
-ud


