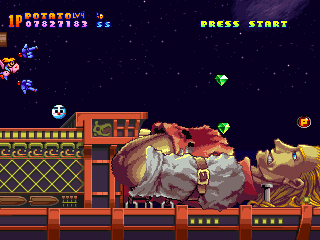
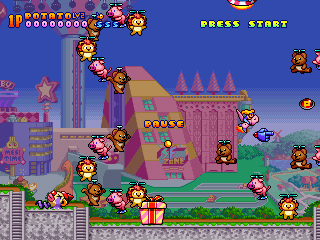
Harmful Park is probably best known for being mega expensive. It's also widely regarded as very easy - due party to the fact that the game defaults to Easy Mode. What many people don't seem to recognize is the impressive depth the game's scoring systems provide; proper weapon choice, careful timing, and resource management all pay off in major ways.
Fortunately for the cash-strapped, PlayStation emulation is more than up to the task of running Harmful Park properly. Harmful Park is no more out of your reach than Dodonpachi is, and is equally deserving of a chance to win your heart.
Weapons
Harmful Park equips the player with four different weapons, each with its own unique special "bomb" attack. Each handles differently, and the easiest weapon to use in any given situation will likely not be the right weapon to use to rack up points.
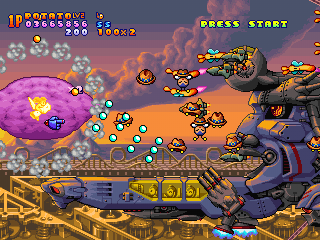
Potato
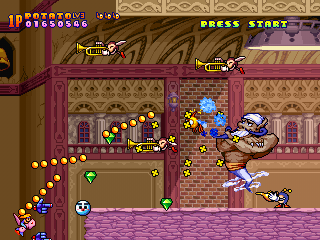
The most traditional weapon in your arsenal, it's a basic vulcan-type gun. Reliable and easy to use, it's great if you're feeling overwhelmed and want to deal damage without having to worry about the peculiarities of the other weapons. However, the shot has very poor scoring potential; you'll struggle to get a x2 with it.
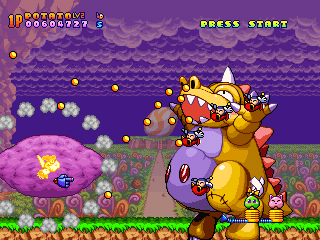
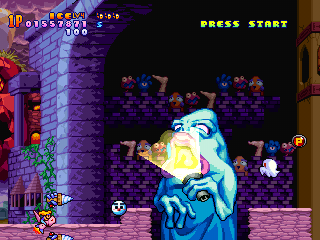
Potato's special attack is smartbomb attack with a small twist. A giant sweet potato will appear around your character and and linger for a second before exploding. Enemies that touch the potato will take damage; when it explodes it will damage everything on the screen. More on this later.
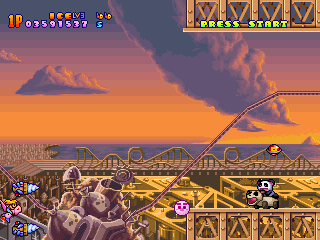
Ice
The Ice shot shoots a long dairylicious laser at the enemies. There are breaks in the beam which takes getting used to but it deals great damage, penetrates enemies, and is the easiest weapon to chain with.
It does get harder to chain when you level up the weapon: each individual beam establishes its own combo, so you need to do some careful positioning to maximize your chain. It's difficult to combo into big enemies, but Ice is a great way to weaken them so they can be finished off with a bomb.
Ice's special attack is a large laser that shoots out of a giant ice cream sundae. It's powerful but has poor combo potential. Best for bosses if you're not feeling brave.
Pie
The Pie weapon lobs a creamy grenade at your targets. Pies are best thrown at short range, they travel in an arc and are difficult to aim from a distance and the longer your pies are in the air the longer you have to wait to throw more.
Pies are the second most important scoring tool in your arsenal. They're not great for general use, but a solid hit does consistent damage every time and it's the most consistent way I've found to deal specific amounts of damage before throwing a bomb out. Staying at Lvl. 1 is an easy way to make sure you're able to accurately accurately gauge your damage output.
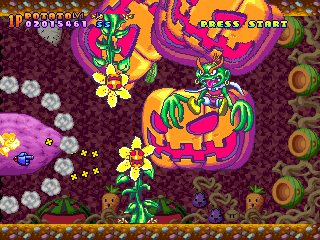
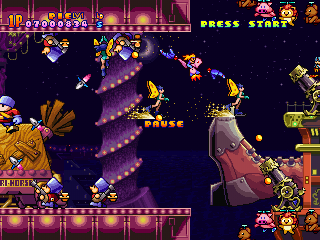
A less useful feature of the Pie weapon is that your multiplier builds faster - from 2x to 4x, etc. Even more interesting, it might possible to keep your chain from pie to pie. Unfortunately, there are very few cases where enemies are grouped in a way that allows you to take advantage of this - the birds in stage 2 are a rare exception.
The special Pie attack is really a special cake attack that fires a rotating barrage of cakes around your character. It's the strongest attack in the game, but you have sit on top of an enemy actually hit them with all the cakes - and if you're still there when the attack ends and your invincibility runs out, oops.
Jerry
The Jerry attack throws homing blobs of jelly at enemies. They're weak and difficult to aim at specific targets and are basically never the best weapon for a situation. Even worse, the projectiles often remain on screen for quite a while searching out a target, and you can't fire Ice or Pie while there's still one on screen.
The Jerry special surrounds your characters in a big ol' bowl of jello that absorbs a lot of damage (and deals a small amount to any enemy that touches you), but there's no way to dispel the shield and you're stuck with the Jerry weapon until it's gone. It's probably very helpful if you want to survive certain hairy situations without burning through your entire Special stock, but if you're going for something other than a clear than the opportunity cost of using it is probably too high.
Scoring
There are several sources of points in Harmful Park:
Multiplier
The multiplier will be your main source of points in Harmful Park. The default is x1, obviously; each enemy after the first that is killed with the same projectile will increase your multiplier by 1, up to x16. This multiplier is applied to the defeated enemy's base value, which is displayed in the upper left hand corner when they are killed. That base is an important factor - an enemy worth 500 killed with a x16 chain is worthless compared to an enemy worth 5,000 killed with a x3 chain. As a general rule, we want to identify enemies with large base values, and find a way to kill them with a very high multiplier. The multiplier also influences gem drops, as discussed below.
The Ice weapon is good for building basic multipliers against small groups of weak enemies you encounter throughout the stages. They are generally not worth much, but why not take what you can get?
The multiplier really shines when you're able to apply it to large enemies. As an example, there is an enemy midway through stage 1 that will explode popcorn (?) all over the screen. He's worth 5,000 - but before he leaves the screen, over a dozen flying hats will join him. If you weaken him enough so that a Potato bomb will kill him when it explodes, the hats will bump your multiplier up to x16 which is applied to the stronger enemy upon its demise for a value of 80,000 points. Note that this works on bosses, who have a base value of 50,000!
If you can find a reasonably sized swarm of weak enemies, you can still pull in a respectable amount of points by letting them flood the screen, bombing, then collecting the gems they drop (well over a dozen in many circumstances). In some cases it might be prudent to have a second bomb on standby, so that you can safely catch all the gems.
Remember - if you're playing the game right, extends are plentiful and bombs are cheap, so don't be afraid to throw away a life to restock. (Just make sure you set your weapon to Pie or Jerry beforehand) As part of my level walkthroughs I'll be pointing some of these valuable spots out, with strategies for taking advantage of them.
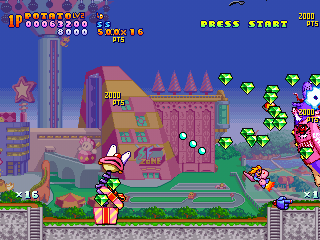
Gems
Gems are dropped by enemies; some drops are fixed while others will drop them occasionally. Gem values increase by 500 with each gem collected and reset to 500 when a single gem is dropped; the change in value happens regardless of whether or not there are other gems on screen. Dropping a full-value gem costs you 22,500 while you rebuild the value.
Attaining higher multipliers increases the drop rate - at a certain level you will are more or less guaranteed a gem from every enemy killed (probably x14 or higher).
*SPECULATION**
My theory is that the game accumulates the multiplier values you get, and spawns a gem when that accumulated value reaches a certain point.
For example, assume a gem spawns at an accumulated value of 18. When you hit or exceed 18 a gem spawns, the accumulated value is reduced by 18, and the cycle begins again:
Say you build a x4, then a x3, then a x5:
Code: Select all
x1  1
x2  3
x3  6
x4  10
x1  11
x2  13
x3  16
x1  17
x2  19 GEM
     1
x3  4
x4  8
x1  9
x2  11
x3  14
x4  18 GEM
     0
x5 5((End speculation))
You also spawn gems when you die, I believe based on the weapon level you lose. Losing a lvl. 4 will spawn 3, lvl. 3 will spawn 2, lvl. 2 will spawn 1, and lvl. 1 gets you nothing. Since you get 5,000 points for collecting a powerup while at Lvl. 4, it's better to just grab the powerup for points than to level up unused weapons to spawn gems when you die.
Gem collection also influences when non-fixed powerups will spawn. I'm not sure of specifics, but more gems=more powerups.
Snowmen
Snowmen are worth 50,000 points each, and are hidden in every level. When you shoot their hiding place they will appear for a brief second; once you've done enough damage to them they will turn white and can be collected.
I'll provide locations of all the Snowmen in a later post.
End-Stage Bonus
There are three factors that contribute to your stage bonus:
Specials in stock x 5,000
Gems collected x 100
50,000 x Destroy % if >100%
200,000 if 100% enemies destroyed
100% destruction is often very difficult - it's not as simple as "shoot everything;" I've only got 100% on stage 1. Input from others would be very welcome on this.
In short, the bulk of your score will probably come from bombing large groups of weak enemies, ideally with a high-value stronger enemy destroyed at the end. You are awarded with an extend every 500k; it is possible to earn an extend with a single well timed bomb. There is no clear bonus I can see (maybe in Score Attack?), so suiciding to replenish your bomb stock is an essential tactic.