Ok, I managed to put the new stick in. Had to drill holes, remove a couple of plastic dowels (?) and shorten a pcb's feet because it got in the way. Now, all that's left to do is somehow solder the stick's pins to the joyboard's pcb - apart from giving the joystick a new look about which I'm still undecided at this point: on the one hand, it would sure make a lot of sense to simply go to a copy shop and get a big-print out of a brilliant Ketsui wallpaper I found, glue it on top of the thing and get transparent buttons with parts of the print-out put in. On the other hand, I'd love to paint a pic on the stick myself, something like this:
http://www.ardnut.co.uk/mslug/
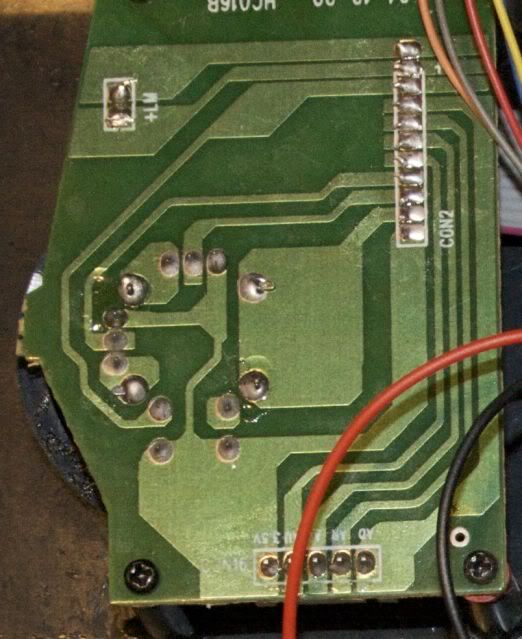
Anyway, unfortunately, I've made a very stupid beginner's mistake: I didn't take any pictures of the insides of the board before starting to take it apart, so now I don't really know where each pin goes (or, as a matter of fact, which of the stick's pins does what). Here's what the pcb looks like:
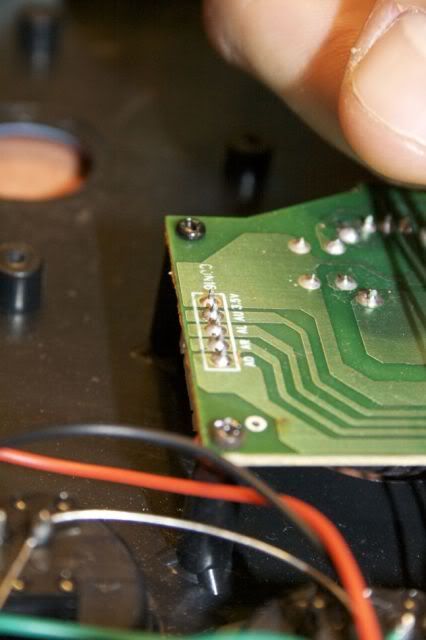
The shitty built-in stick was connected to the pcb via a plastic plug, but I guess I can just as well solder the Seimitsu's pins to the top of the pcb. Question is, where does each pin go? (in case you can't read the signs next to the pins, they say AD, AR, AL, AU, and 3,5V)
Another stupid question: does anyone have any idea what this thing is supposed to do:
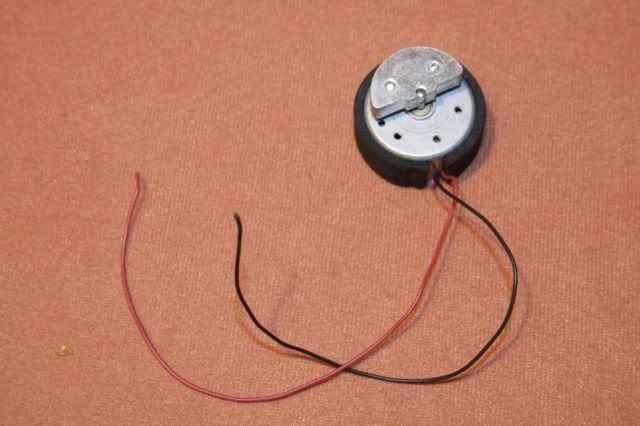
Initially, it rested right underneath the original stick/ was connected to it before it broke off; the wire went to one of the two (!) trackballs' pcbs. ?
As always, cheers to anybody who gives a fuck.
brokenhalo wrote: if the buttons feel crappy theres no sense in keeping them.
I hear ya, but right now I simply cannot afford even a meagre 30 Euros for new buttons. Still kinda on the dole...


