
Here we go!
Art:


Hi-res Links: (around 25mb each)
Pic 1
Pic 2
Pic 3
Do-Don-Pachi Dai-Fukkatsu is the fifth arcade game in Cave's DonPachi series. The game was publicly unveiled in 2008 at a Tokyo arcade machine show.
Game Versions – A short history of Dodonpachi Daifukkatsu and its different variations.
Arcade Version – This was the initial release and is unplayable on any home consoles. Several bugs and exploits were discovered on this first game and Cave released version 1.5 a few months later.
1.5 - This version replaced the initial arcade release. While the Xbox 360 version has been heralded as an excellent port, it features much less slowdown than the arcade.
Version 1.5 added the following features:
- 2 extra digits on the score counter.
- Fixed item counter mismatch.
- Added 1 more fighter type (the Type-B "Biaxe" helicopter).
- Auto bomb is now standard.
- Adjusted game balance.
- Removed safe spots and increased the difficulty of the true last boss battle.
Basic gameplay/strategy consists of: get and use hypers early on to build your chain while refilling the hyper meter. Maintain this chain and a full hyper-gauge throughout the stage and boss fight and do not use hyper again until the next stage. It's recommended that you use B or C type ships for maximum score.
1.51 - A version that was first seen publicly in August of 2010 at a Cave matsuri event. Later issued as a bonus DLC with the first prints of DDP DFK 1.5 x360.
- No second loop in this version.
- You cannot break your chain when your hyper meter is full. Instead your hyper meter will gradually deplete.
- Hyper-mode time has been reduced.
- Your chain won't drop if you bomb.
- If you auto-bomb, your entire bomb stock is depleted.
- a simplified three button layout. The bomb button doubles as the hyper button.
- Killing enemies with laser gets you more points than with shot.
- Introduces rank-triggered enemies that perform shots and patterns from the second loop of ver. 1.5.
- To collect stars from bosses, they must be destroyed in hyper mode.
- There are two last bosses at the end of stage 5.
Thought to be unplayable for score due to a completely broken point system. Ridiculous scores are achievable by bombing the bosses lasers on any stage. When bombs are depleted, suicide and repeat. In Power mode, the same can be done by constantly hypering and riding the enemies lasers to a game-busting chain.
Arrange A (Version L) - A hybrid version of Daifukkatsu and Dai Ou Jou.
- You can only play as the Type-A ship
- Uses the ship sprite from DoDonpachi - Daioujou.
- Canceling bullets is more focused in this mode.
- You can toggle your laser between Normal and Boost mode. In normal mode, your shots are like a fully powered Type-A ship from Daioujou, and in boost you have a boost in power but your ship moves a lot slower.
- Hypers are collected, just like in Daioujou. The more Hyper icons you collect, the longer the hyper lasts and the stronger your blast is.
Arrange B – A very unusual and complicated arrange that splits opinions. This version is put together in the form of a score attack. A single stage is selected for play, and scores for each individual stage are tracked. The game saves the highest score you've reached for each stage, rather than just the score for the last playthrough. You get an infinite number of lives to use during the stage. Only 2 buttons are used. One switches between shot and laser, the other activates a bomb when pressed and a hyper when held down. Your ship automatically fires its rapid shot when no buttons are held. This game has a few key points that you should know:
Rank - The more a level is played, the stronger the enemy attacks will become and the more points their destruction is worth. The numbers at the bottom indicate the total area rank (from left to right: enemy health, bullet speed, bullet density) and the numbers over the enemies indicate their individual rank. Getting killed slightly reduces the rank of all enemies on screen at the time, and less slightly reduces the rank of the enemy that killed you.
Bees and Backgrounds - All of the bees in each stage are already revealed but don't give any points.
Collecting a green bee will change the background to blue and enemies will fire high-speed aimed patterns and the blue number on the side will raise more rapidly. Collecting an orange bee will change the background to red and enemies will fire slow, dense patterns and the orange number on the side will raise more rapidly. Collecting a bee as it flashes will normally return the background to normal, however if a flashing bee is collected during a hyper then the background will turn green and all enemies will produce much more difficult patterns and pretty much every number on the screen will grow.
Blue and Orange Numbers - The numbers on the right side affect the properties of enemy barrages. Blue affects bullet speed and orange affects pattern density. Killing enemies with laser raises blue more rapidly, killing enemies with shot raises orange more rapidly. While the background is normal (no blue/red/green grid present), using rapid shot will cause enemy patterns to favor speed, and using laser will cause them to favor density.
Several hundred more words could be written about this mode and it’s infinite possibilities, but the above outlines the basic premise and a few scoring techniques.
Black Label - This version, released in arcades in January 2010, contains following changes:
- Players now select the fighter type, then the style (Bomb, Power, or Strong). The style now corresponds to easy, medium, and hard difficulty respectively. Autobomb is also selectable.
- Ships can now fire both laser and shot simultaneously.
- Score counter's number letter sizes increase every 5th digit for easier viewing
- Added Red Mode - a small long bar at top right (or top middle when playing with two players) which increases if you shoot both laser and shot simultaneously. When it passes a certain threshold, the bar in the meter turns red, and the game becomes much more difficult while it is in the red. The bar will reset when the player dies, or reduced after hyper ends / player does not shoot both laser and shot.
- Hyper meter now increase very slowly unless you turn the "Red Mode" bar red. In addition, Hyper power itself runs out much faster after use.
- Hypers can now be "collected" for the Power style. Continue to increase the Hyper meter and it will stock up like a bomb when the meter is filled.
- Activating the hyper now shows the current "rank" of the Hyper effectiveness with blocking bullets temporarily.
- The bee bonus items in the stages function differently.
- Hibachi (true final boss) now can appear in the first loop if certain requirements are met. In addition, the difficulty / durability of both the final boss and the true final boss have increased dramatically.
- Hit combos are now calculated differently. Namely, the hit combo does not go up as fast unless you the "Red Mode" bar is activated.
- All the music has been replaced.
For BL there are a few basic ideas to maximize scoring: First is to stay in full-red mode as long as possible while building your chain. This is done by using laser and shot at the same time to destroy enemies. Next, you should be trying to cancel bullets into stars. This is accomplished by destroying enemies that cancel their own shots when killed. Finally, collecting the bees when they are red/brown to change bullets into small stars, or flashing white for large stars. Be sure to use those hypers in places with tons of popcorn enemies that spew bullets for maximum gain. Don't break your chain during a hyper. Don't ever bomb until Golden Disaster/Hibachi/Zatsuza.
Black Label Novice - Same as regular BL, but reduced enemies and bullets. Same strategies apply.
Ship Types - Dodonpachi Daifukkatsu has 3 ships that you can choose from. Each type has their own strengths and weaknesses:
Type-A (Red Ship - Deltasword)
+ Concentrated Shot
+ Fast Speed
- Hyper has a flaw in that you're prone to getting hit in the sides.
- Memorization and strategic planning required due to narrow shot.
Type-B(Green Helicopter - Biaxe)
+ Controllable shot according to whether you are holding left or right.
+ Average speed and shot reach
+ Hyper shot cancels bullets without much risk of getting hit
- The way shot works can be counter-productive trying to move away from enemies, so will your bullets.
- Certain spots are harder to chain with the way shot works.
Type-C(Blue Ship - Spearhead)
+ Wide shot makes it easier to survive and chain
+ Hyper shot cancels bullets without much risk of getting hit
- Slowest movement of the three ships
- Canceling bullets while in hyper increases the chain bar less than with the other two ships.
Styles - There are three different styles you can couple with your ship type.
Bomb Style: If you get hit with bombs in stock, you will auto-bomb and lose one bomb; the duration will be much shorter and weaker than a manually triggered bomb, so you obviously want to avoid this. A bomb style ship’s laser is too weak to push back big enemy lasers, these ships will have to go into hyper to push back the big lasers or avoid them all together. Use this style if you are a beginner.
Power Style: There are no manual bombs with this mode, instead button B is used to switch between “Normal” mode, where your ship has a very weak shot and laser but has very fast movement, and “Boost” mode, for a stronger shot and also a very powerful laser at the cost of speed. A combination of learning when to switch between these modes is the key to successfully chaining in this style. Even though you can’t bomb manually, you can still carry one, and auto-bomb is used if you are holding one when you get hit. Getting hit in “Normal” mode releases a manual bomb and getting hit in “Boost” mode releases an auto-bomb. Hyper is replenished faster in Power style than in the other two styles. While in hyper, using your shot to clear bullets in Boost mode also adds hyper to the meter and clears the bullets quickly. However this method doesn’t contribute much to your chain meter. Normal mode bullets in hyper add +1 extra to the hit chain for every enemy bullet shot at during hyper but doesn’t clear bullets very well(this is an intentional strategy used when a hyper is used and transferred over to the next stage before it fully ended on the previous stage however). Power mode is chosen by those who are looking to get a maximum score.
Strong Style: Basically a bastardized version of bomb style, featuring extra gunpods for wider shots and a stronger and wider laser that will push back all enemy lasers. This style is a little weaker than Power ships in boost, but the difference will most likely not be noticeable until you become very familiar with the game. Scoring and chaining in certain parts is harder due to killing some things TOO quickly, but survival is definitely less difficult. This style is also good for beginners.
Other Characteristics – A few more things you should know about the game before you play.
Hyper: Upon activation, you are invincible for a short while. You can shoot enemy bullets with your shot to make them disappear. The more you use hyper, the more your “hyper rank” rises. It is harder to destroy enemy bullets with a higher hyper rank. Hyper rank can drop or reset for reasons such as bombing, losing a life, or entering a new stage. When the hyper gauge is full, your chain meter is much more sensitive and will drop quickly. The hyper meter also acts as a multiplier when you have hyper ready to use but you DON’T use it, depending on the number of hits you currently have in your chain:
0-499= x1
500-999= x2
1000-2999= x3
3000-4999= x4
5000-6999= x5
7000-9999= x6
10000+ HITS= x7
Aura: There is an “aura” that surrounds your ship when using laser and protects you from “popcorn” enemies that come from the sides as well as small lasers. Aside from the defensive aspect it also has an offensive aspect as holding your laser close enough to an enemy while touching with the aura will deal more damage. This is key to handling certain enemies such as bosses and mid-bosses that have plenty of health and take a lot of firepower to take down. Hitting a big target with your Aura will also quickly raise the hyper meter. How fast it grows depends on the enemy. It is possible to hyper, go “into” a boss and hyper laser for for a few seconds for a big hyper gain. Be sure to back out before your invincibility wears off.
Tsuujou/Ura Path: There are two paths in the game - Tsuujou is the path that is taken by default. The Ura path the more desirable one, but is tricky to reach. For example, in stage 1 just after you reach the shore at the beginning of the stage, you must destroy the BIG tanks before they run over any silos and you must have full hyper at the warp point to transport to the Ura path. The warp point is a few seconds after you destroy the third large tank. This path has different midbosses and nine bees per stage. Getting the “good” Ura 2nd loop requires that you get on the Ura path from the get go and get all the 45 bees. If you die on or after a mid-boss in any stage of the Ura path (excluding bosses), you are thrown back into the Tsuujou path.
Bees: These icons are hidden throughout all the levels - 7 on each Tsuujou stage and 9 on each Ura stage. Collecting them is key to progressing into the 2nd loop as well as scoring. Find them and memorize where they are! You have to hit them with the HEAD of your laser to uncover them (aka the point where your laser leaves you ship). Note that green bees add to your hyper gauge, yellow bees give points, while the “white” form seen while the icon is changing gives both points and hyper power.
General tips for DoDonpachi Daifukkatsu -
The key to scoring is to hyper as soon as possible in the beginning of a level, then chain the rest of the level without getting hit, bombing, or dropping your hit chain while your hyper meter is full but unused.
Bees contribute to the hyper meter if they are picked up when green, points when they are gold, or both if "white" while changing from one color to the next. Learning where the bees are is key to getting your hyper back faster.
Hoping to do Mushihimesama next.. Anyone else's thoughts?

 | My games -
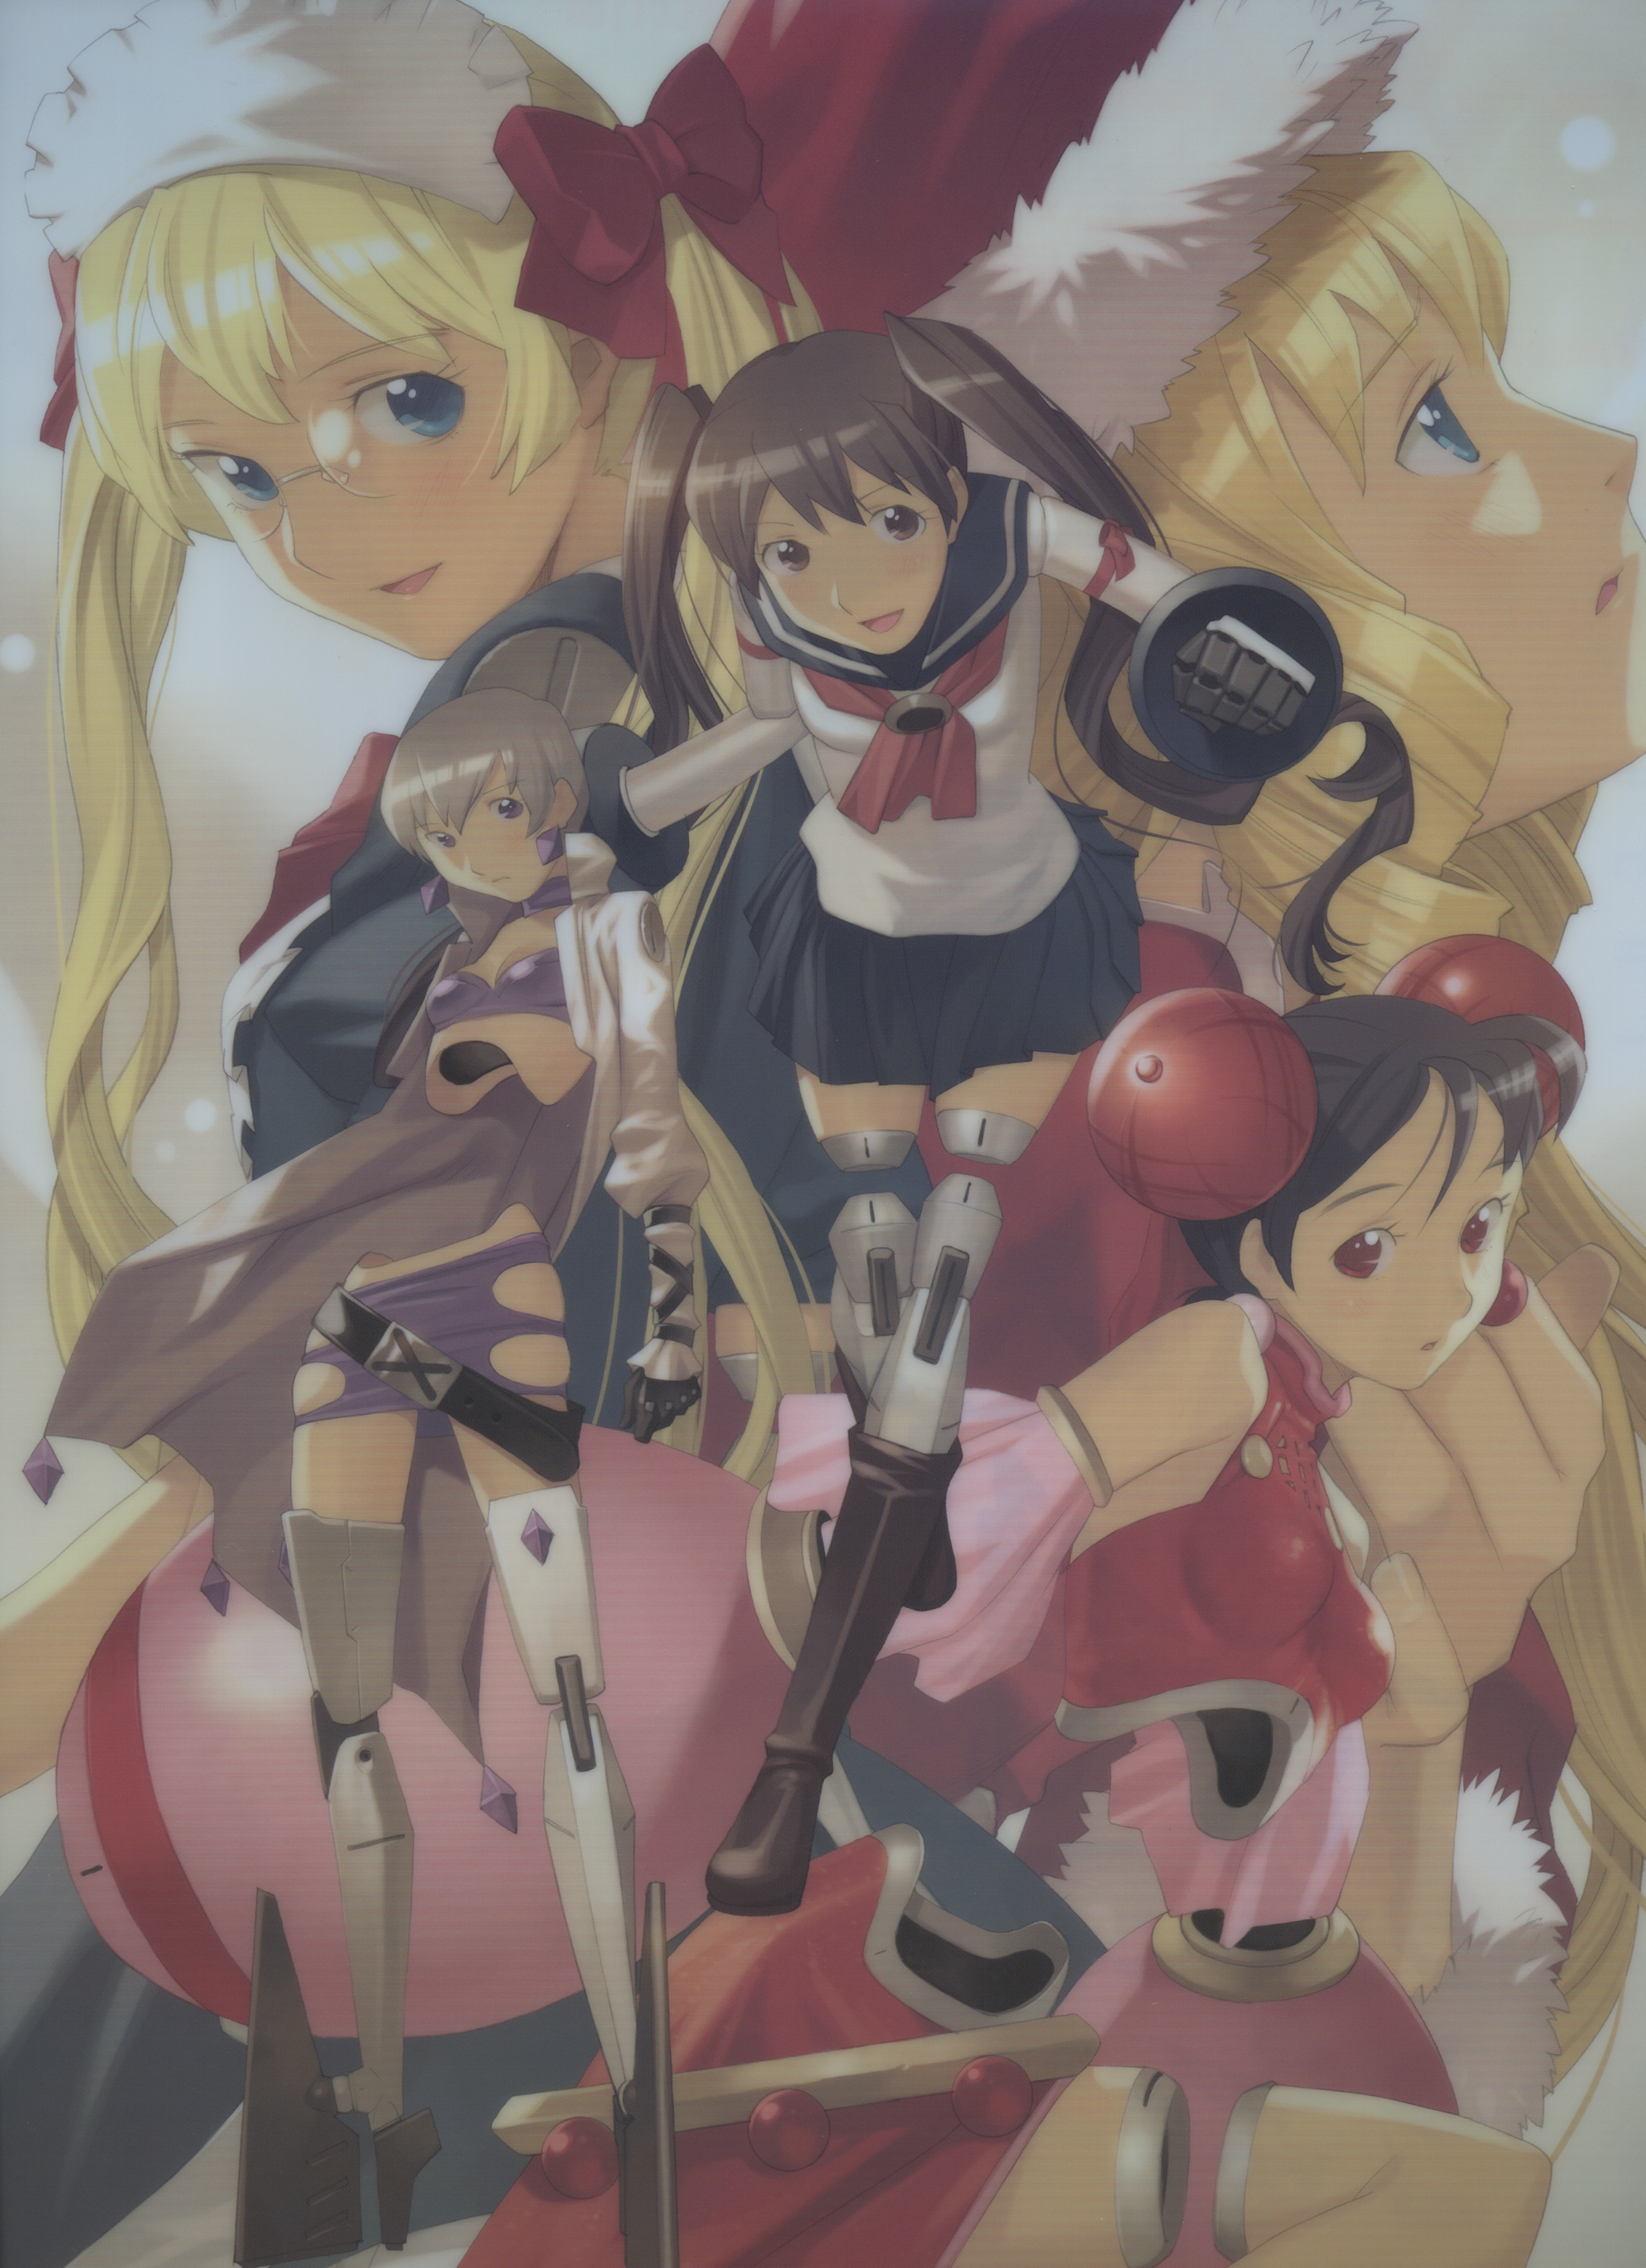